Learning how to install and set up the new Drupal CMS using DDEV

In this guide we will learn how to install and setup the Drupal CMS using DDEV. But first of all we should explain what DDEV is and how it can be of so much use.
What is DDEV?
Docker-based PHP development environments (DDEV): is an open-source tool for launching local web-development environments in a few minutes.
The steps for installing DDEV depend on your computer’s operating system. Follow the instructions in the DDEV documentation to install it.
Confirm that it is installed on your computer by running the command ddev --version in the Terminal. The result should be a message with the ddev version.
How to install Drupal CMS with DDEV?
Step 1: Create a folder for your project
Keeping your project organized is extremely important. So let's create a folder for our project. mkdir drupal-cms-website
Step 2: Navigate to the folder we've created
Now that we have created our folder, we can navigate to it:cd drupal-cms-website
Step 3: Initialize a DDEV project specifying the project type and setting the document root
To do that, we need to write this command: ddev config --project-type=drupal11 --docroot=web
Let's break down the command into smaller pieces so that we can understand it.
ddev config: initializes a DDEV project,
--project-type=drupal11: specifies the DDEV project type to Drupal 11
--docroot=web will set [web] folder as the document root of our project
Step 4: Start the DDEV project
In order for our project to work we need to start it.
To do that we write in our Terminal:
ddev start
Step 5: Install the Drupal CMS dependencies
Now that we have started our DDEV project, we need to install the Drupal CMS with:
ddev composer create drupal/cms
If you are not familiar with the "composer" tool. Composer is a Dependency Manager for PHP.
Step 6: Launch our ddev project
It's time to launch our ddev project. To do that, we just need to type ddev launch and if we did everything right we should be able to see the following on our default browser:
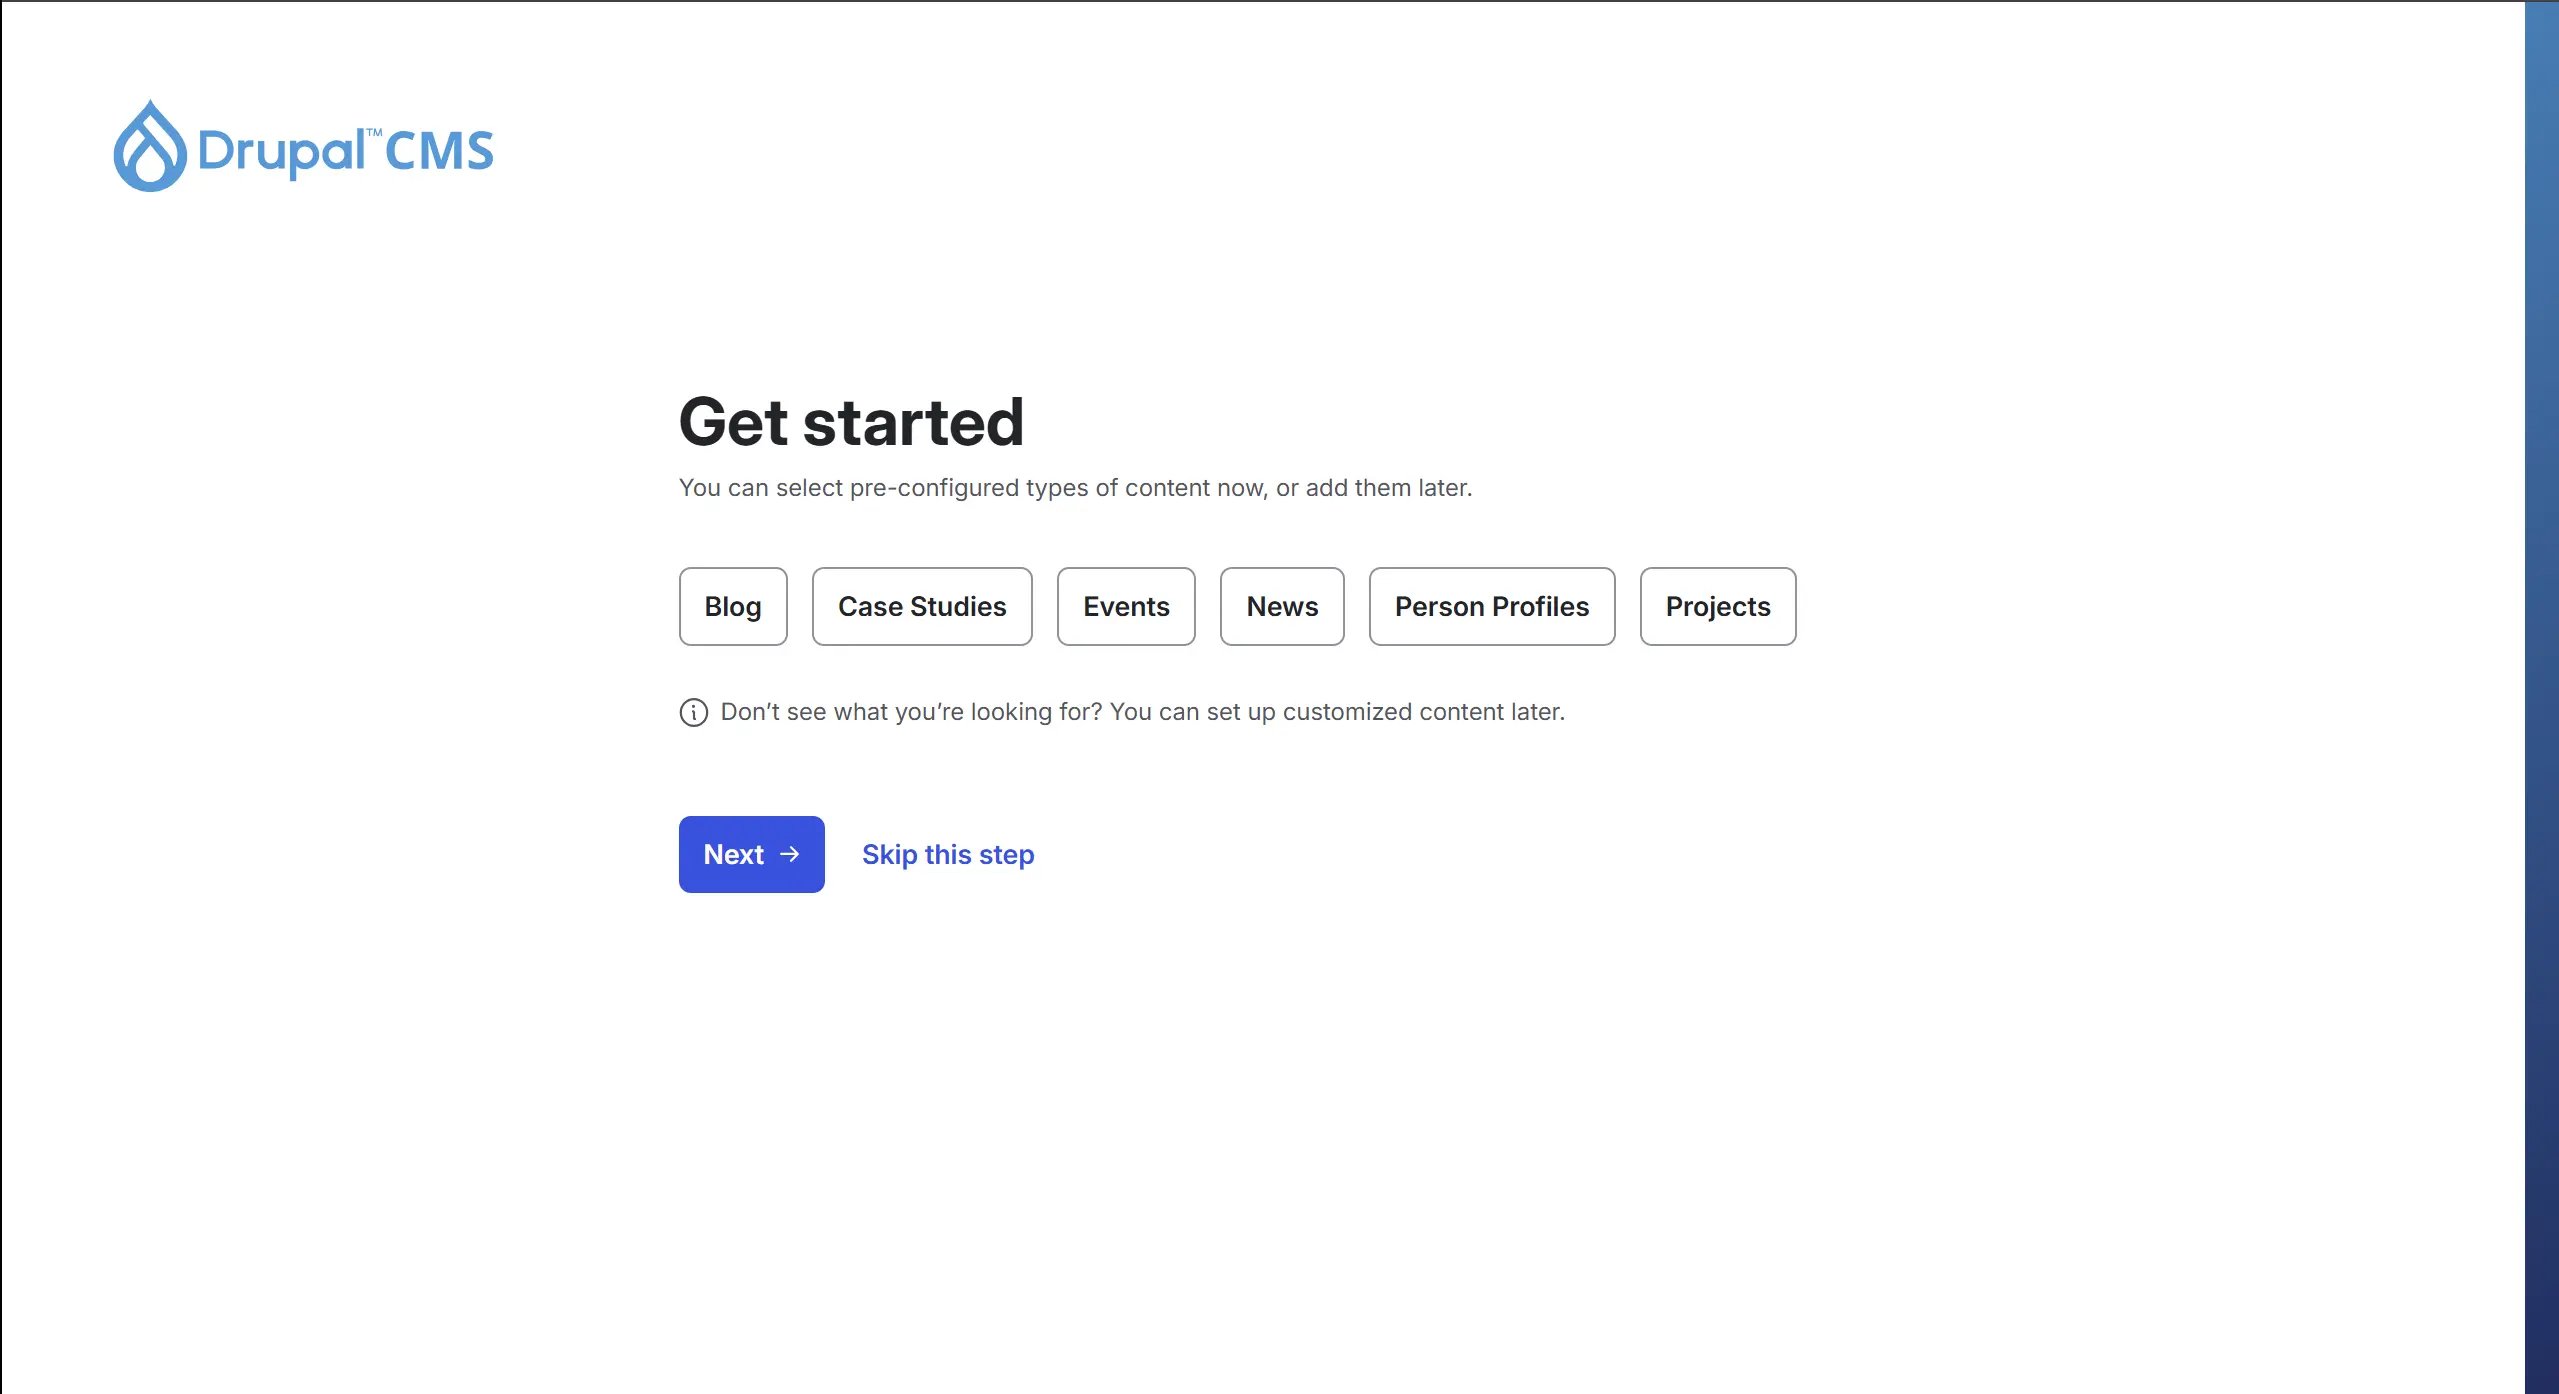
Let's start by understanding the "Get Started Page". As we can see, Drupal CMS gives us the option to select pre-configured types of content in order to create our content types and views faster.
For example: if we want to create a Blog, we can select "Blog" and Drupal CMS will set-up "everything" (views, content types) for us. But if you don't want to select a pre-configured type you can simply click on "Skip this step".
Moving-on to the next image, as for every website, we have to name our website. Simply choose a name and add it. If you are not sure about the name you want, you can simply leave the default name and just change it later in the settings.
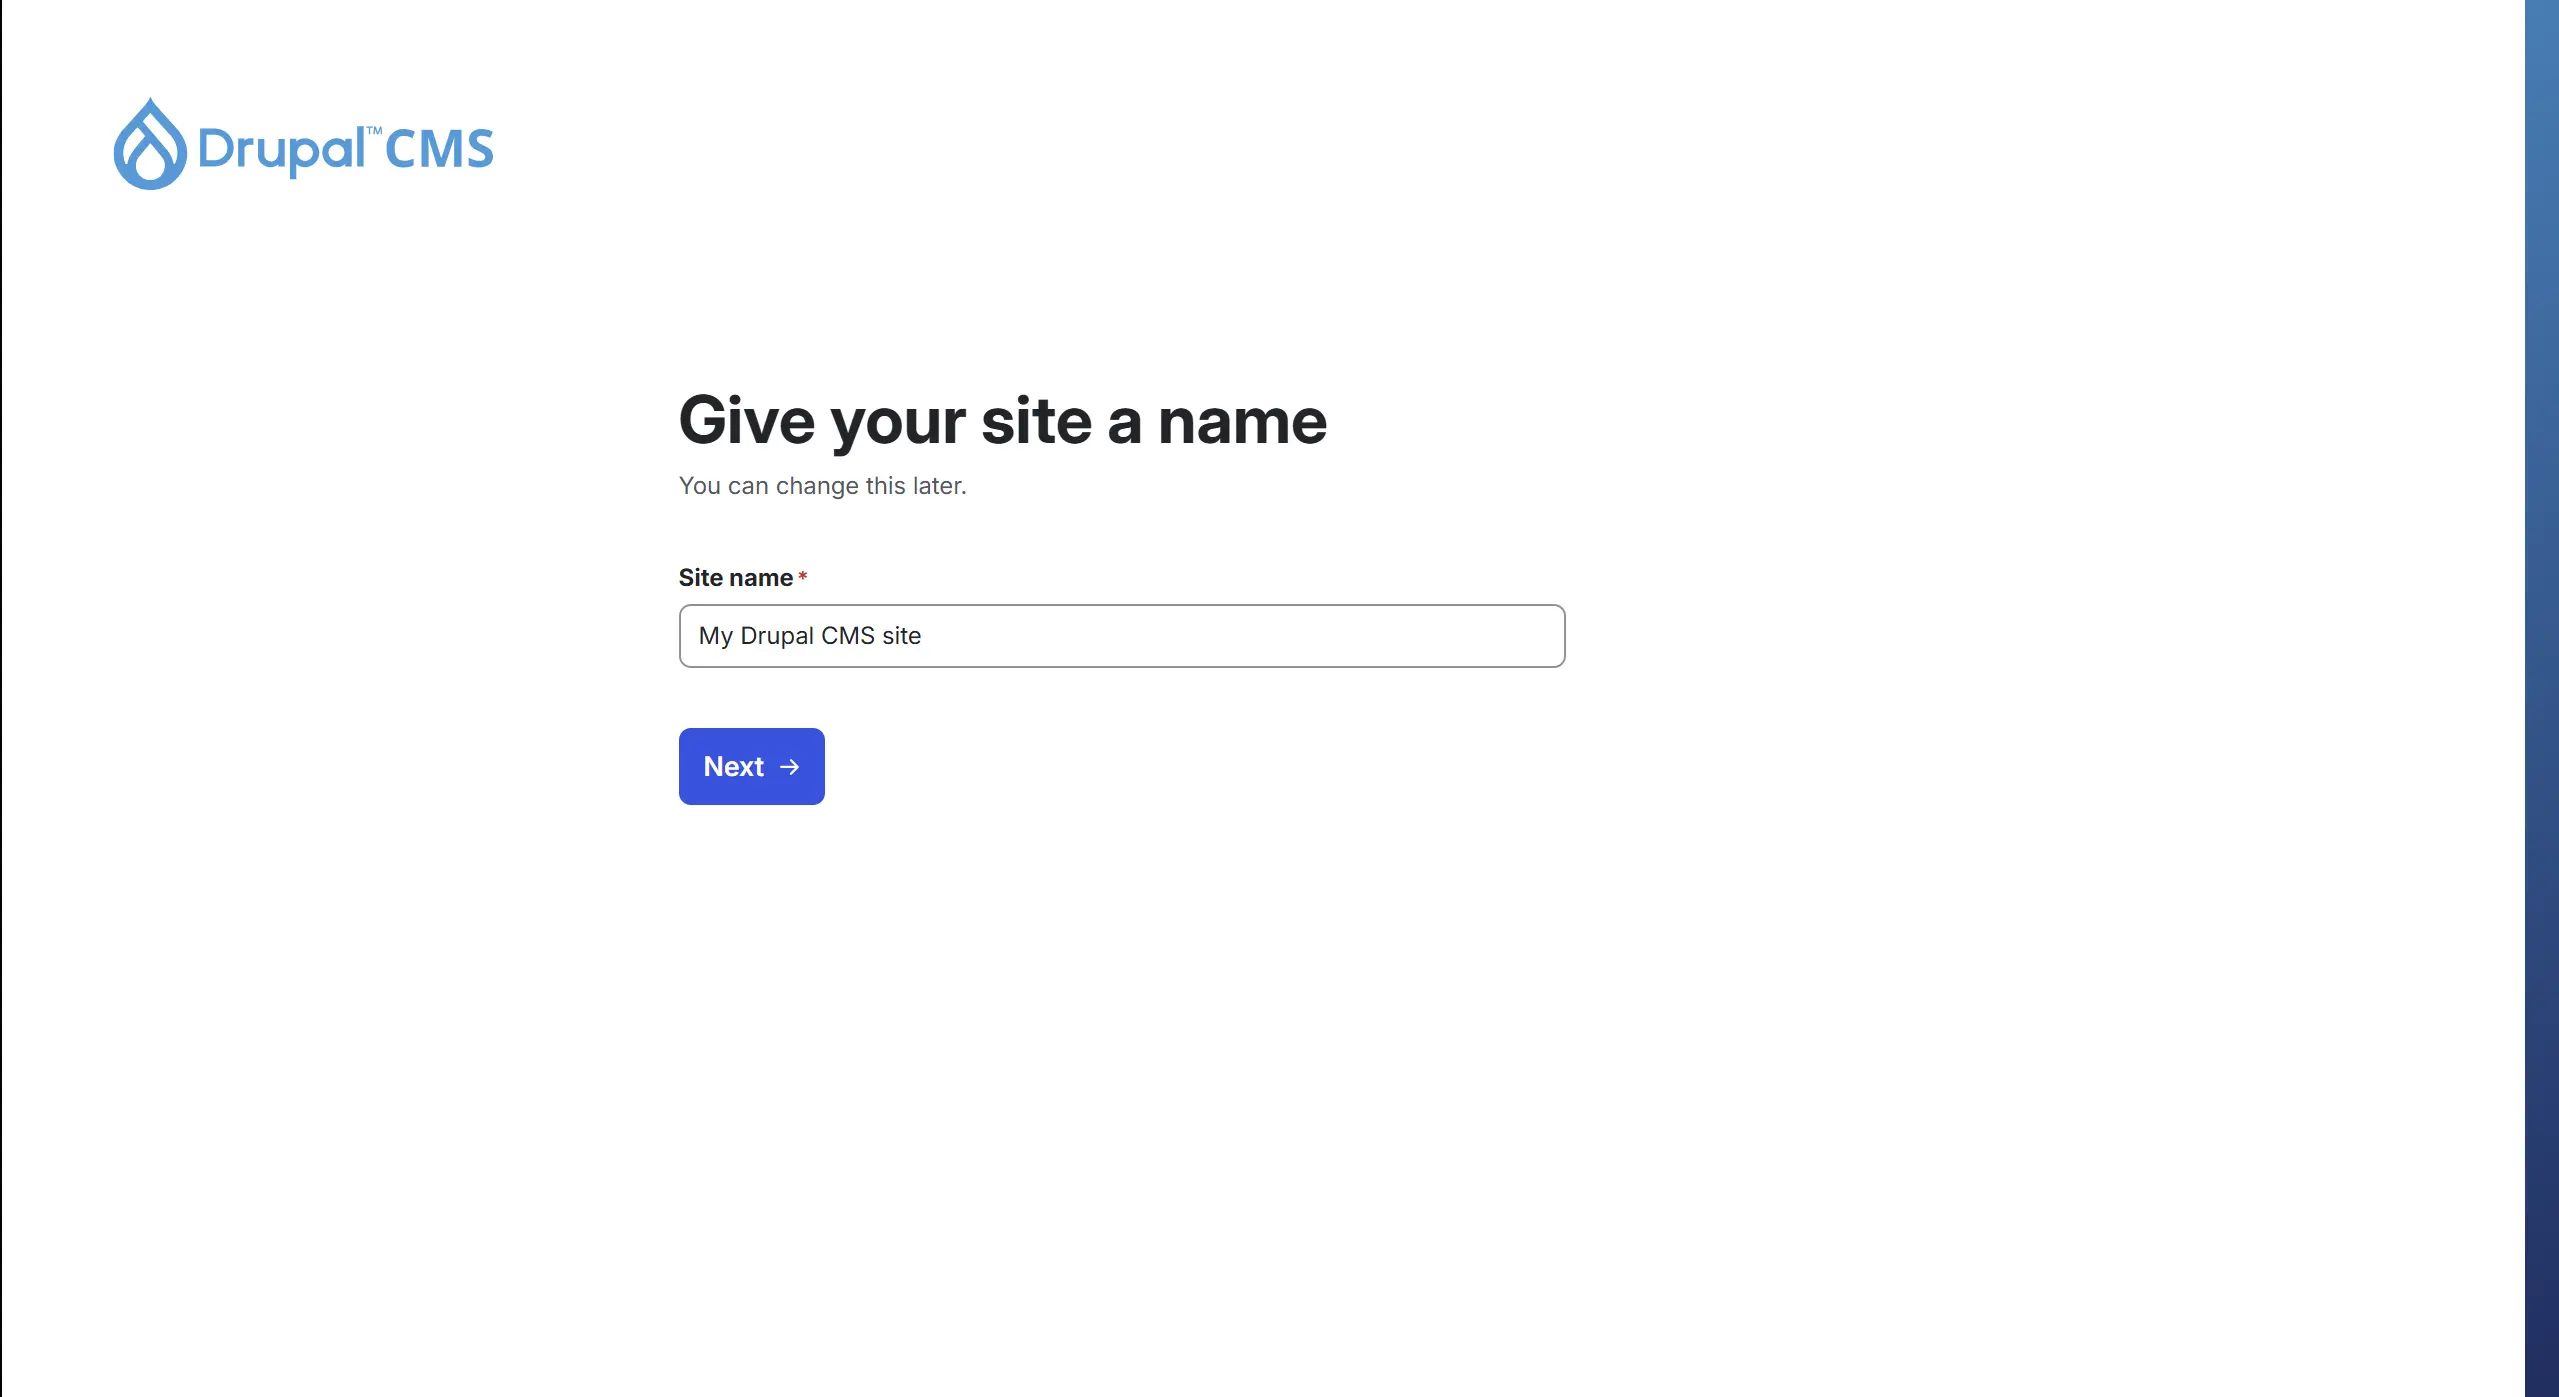
For the simplicity of the guide, I will just leave the default name as is and click on "Next".
Now, we need to create our account. Just enter your e-mail and a secure password and click on "Finish".
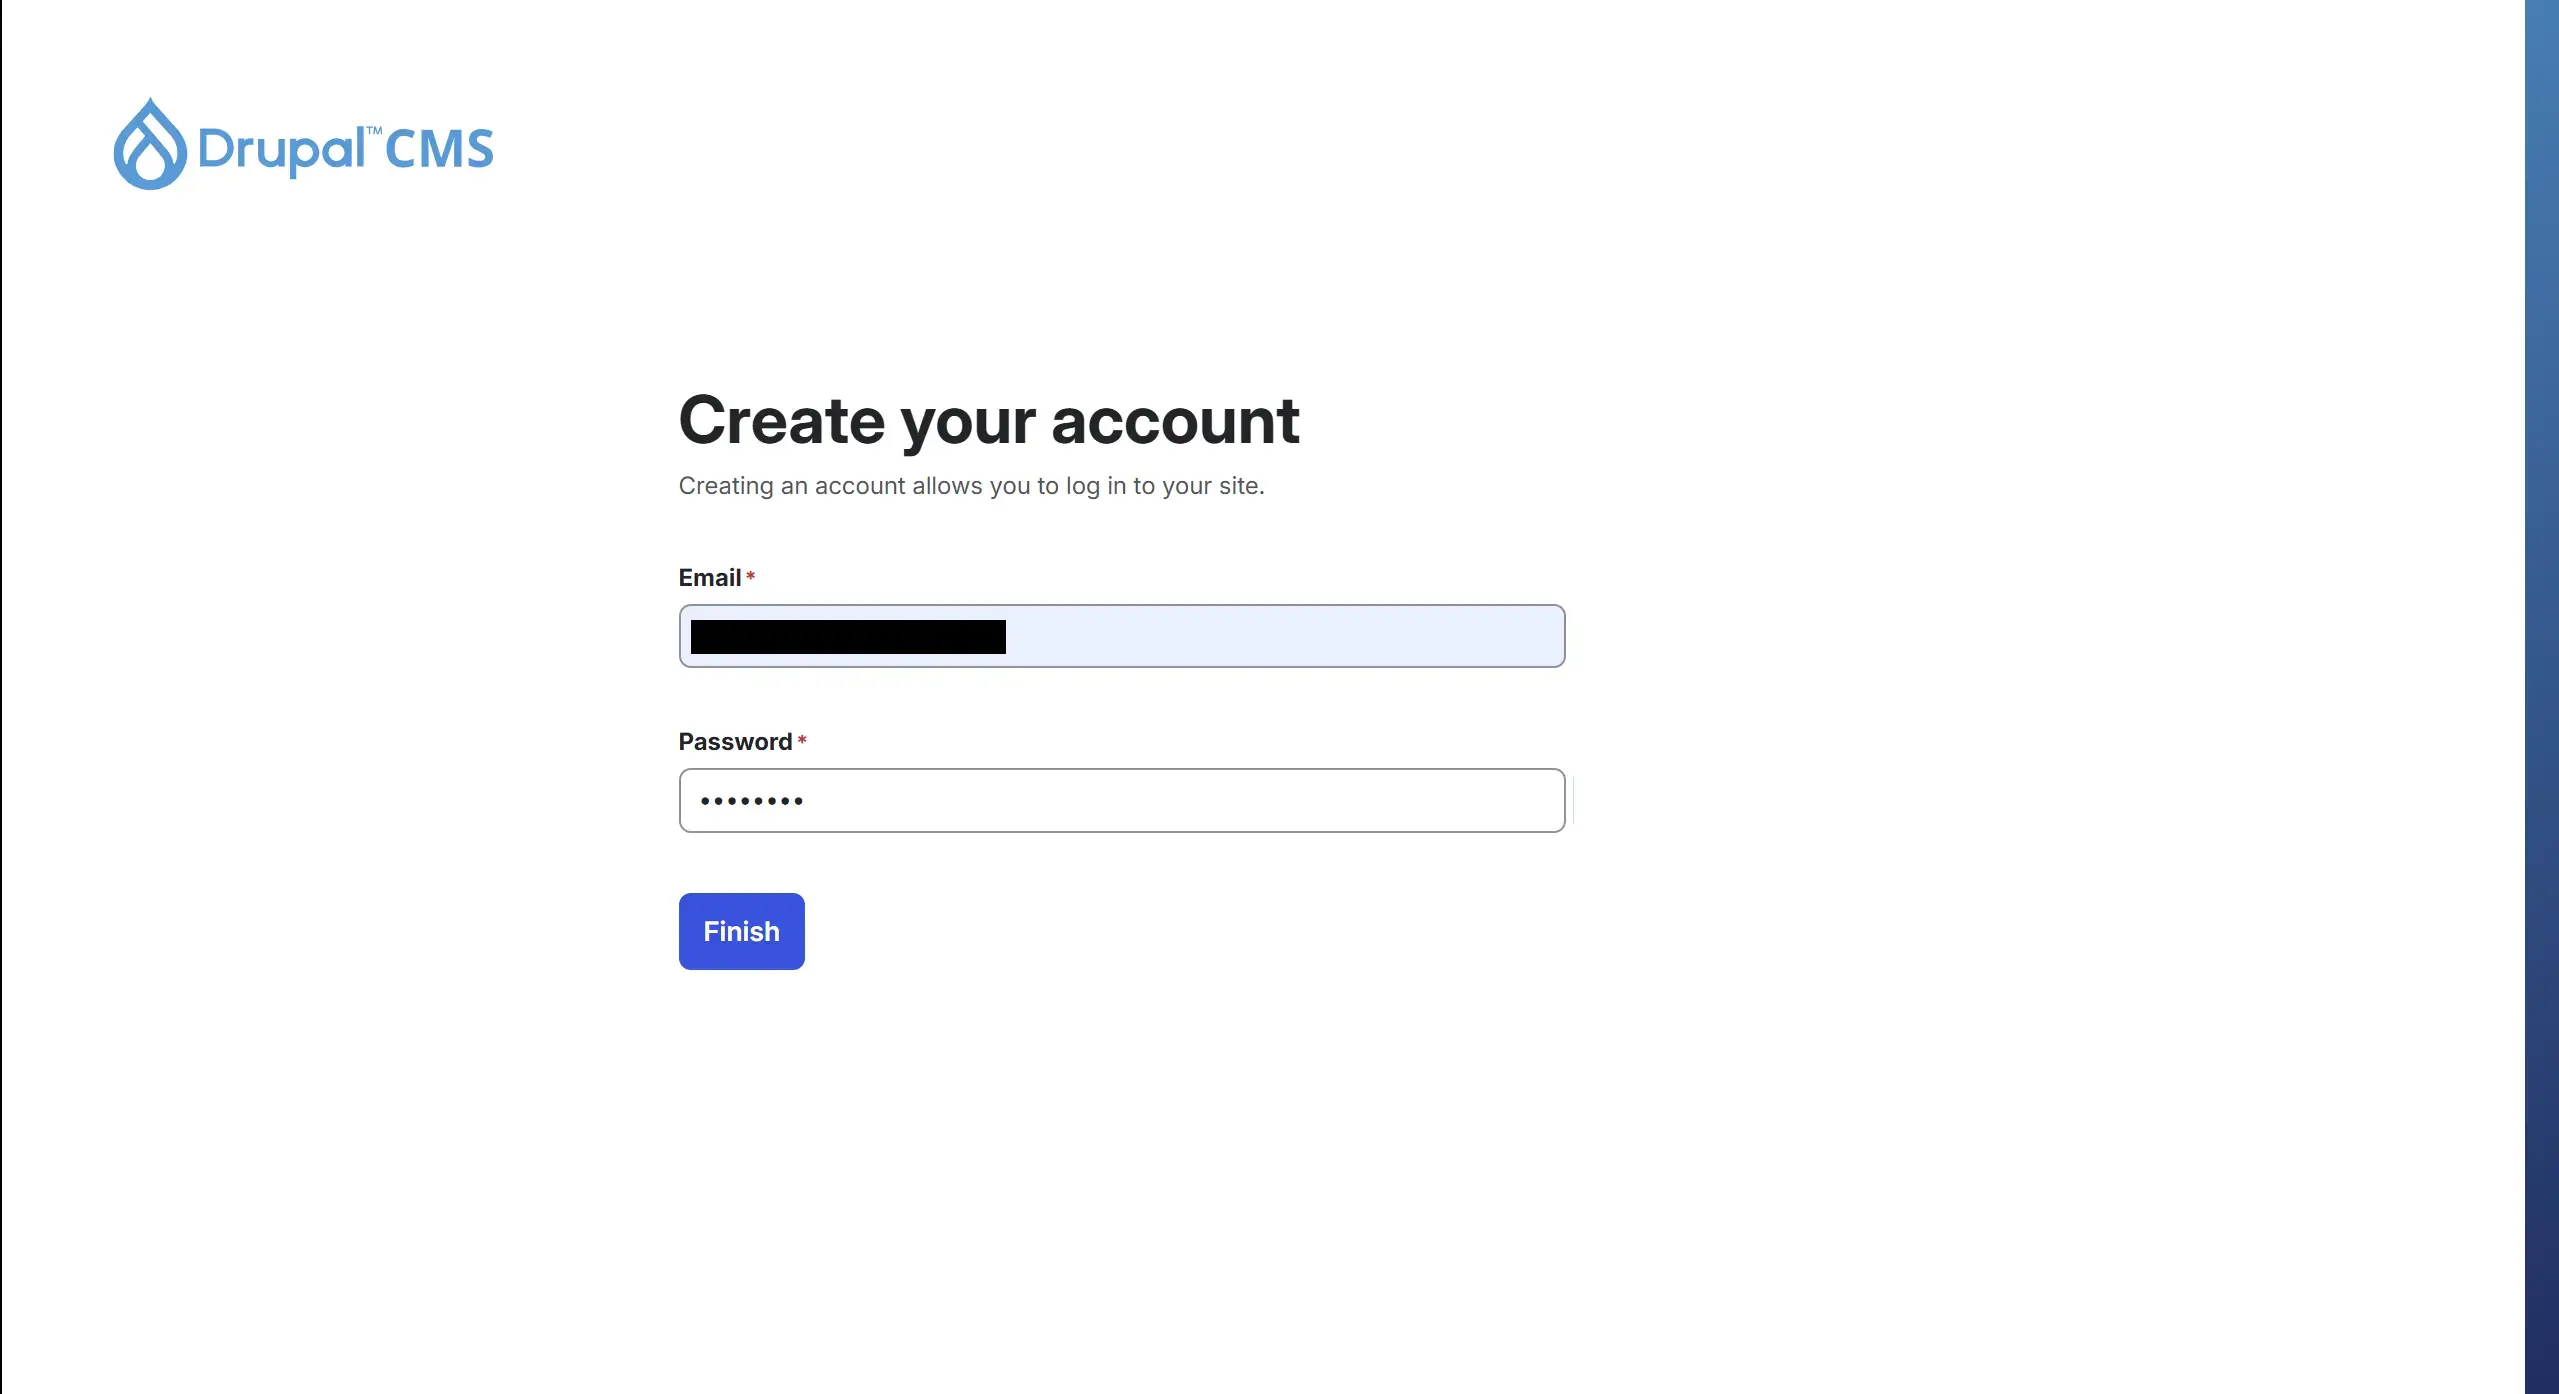
Then Drupal CMS will set-up our website and when everything is done, the first thing we will see is the Drupal CMS Dashboard.
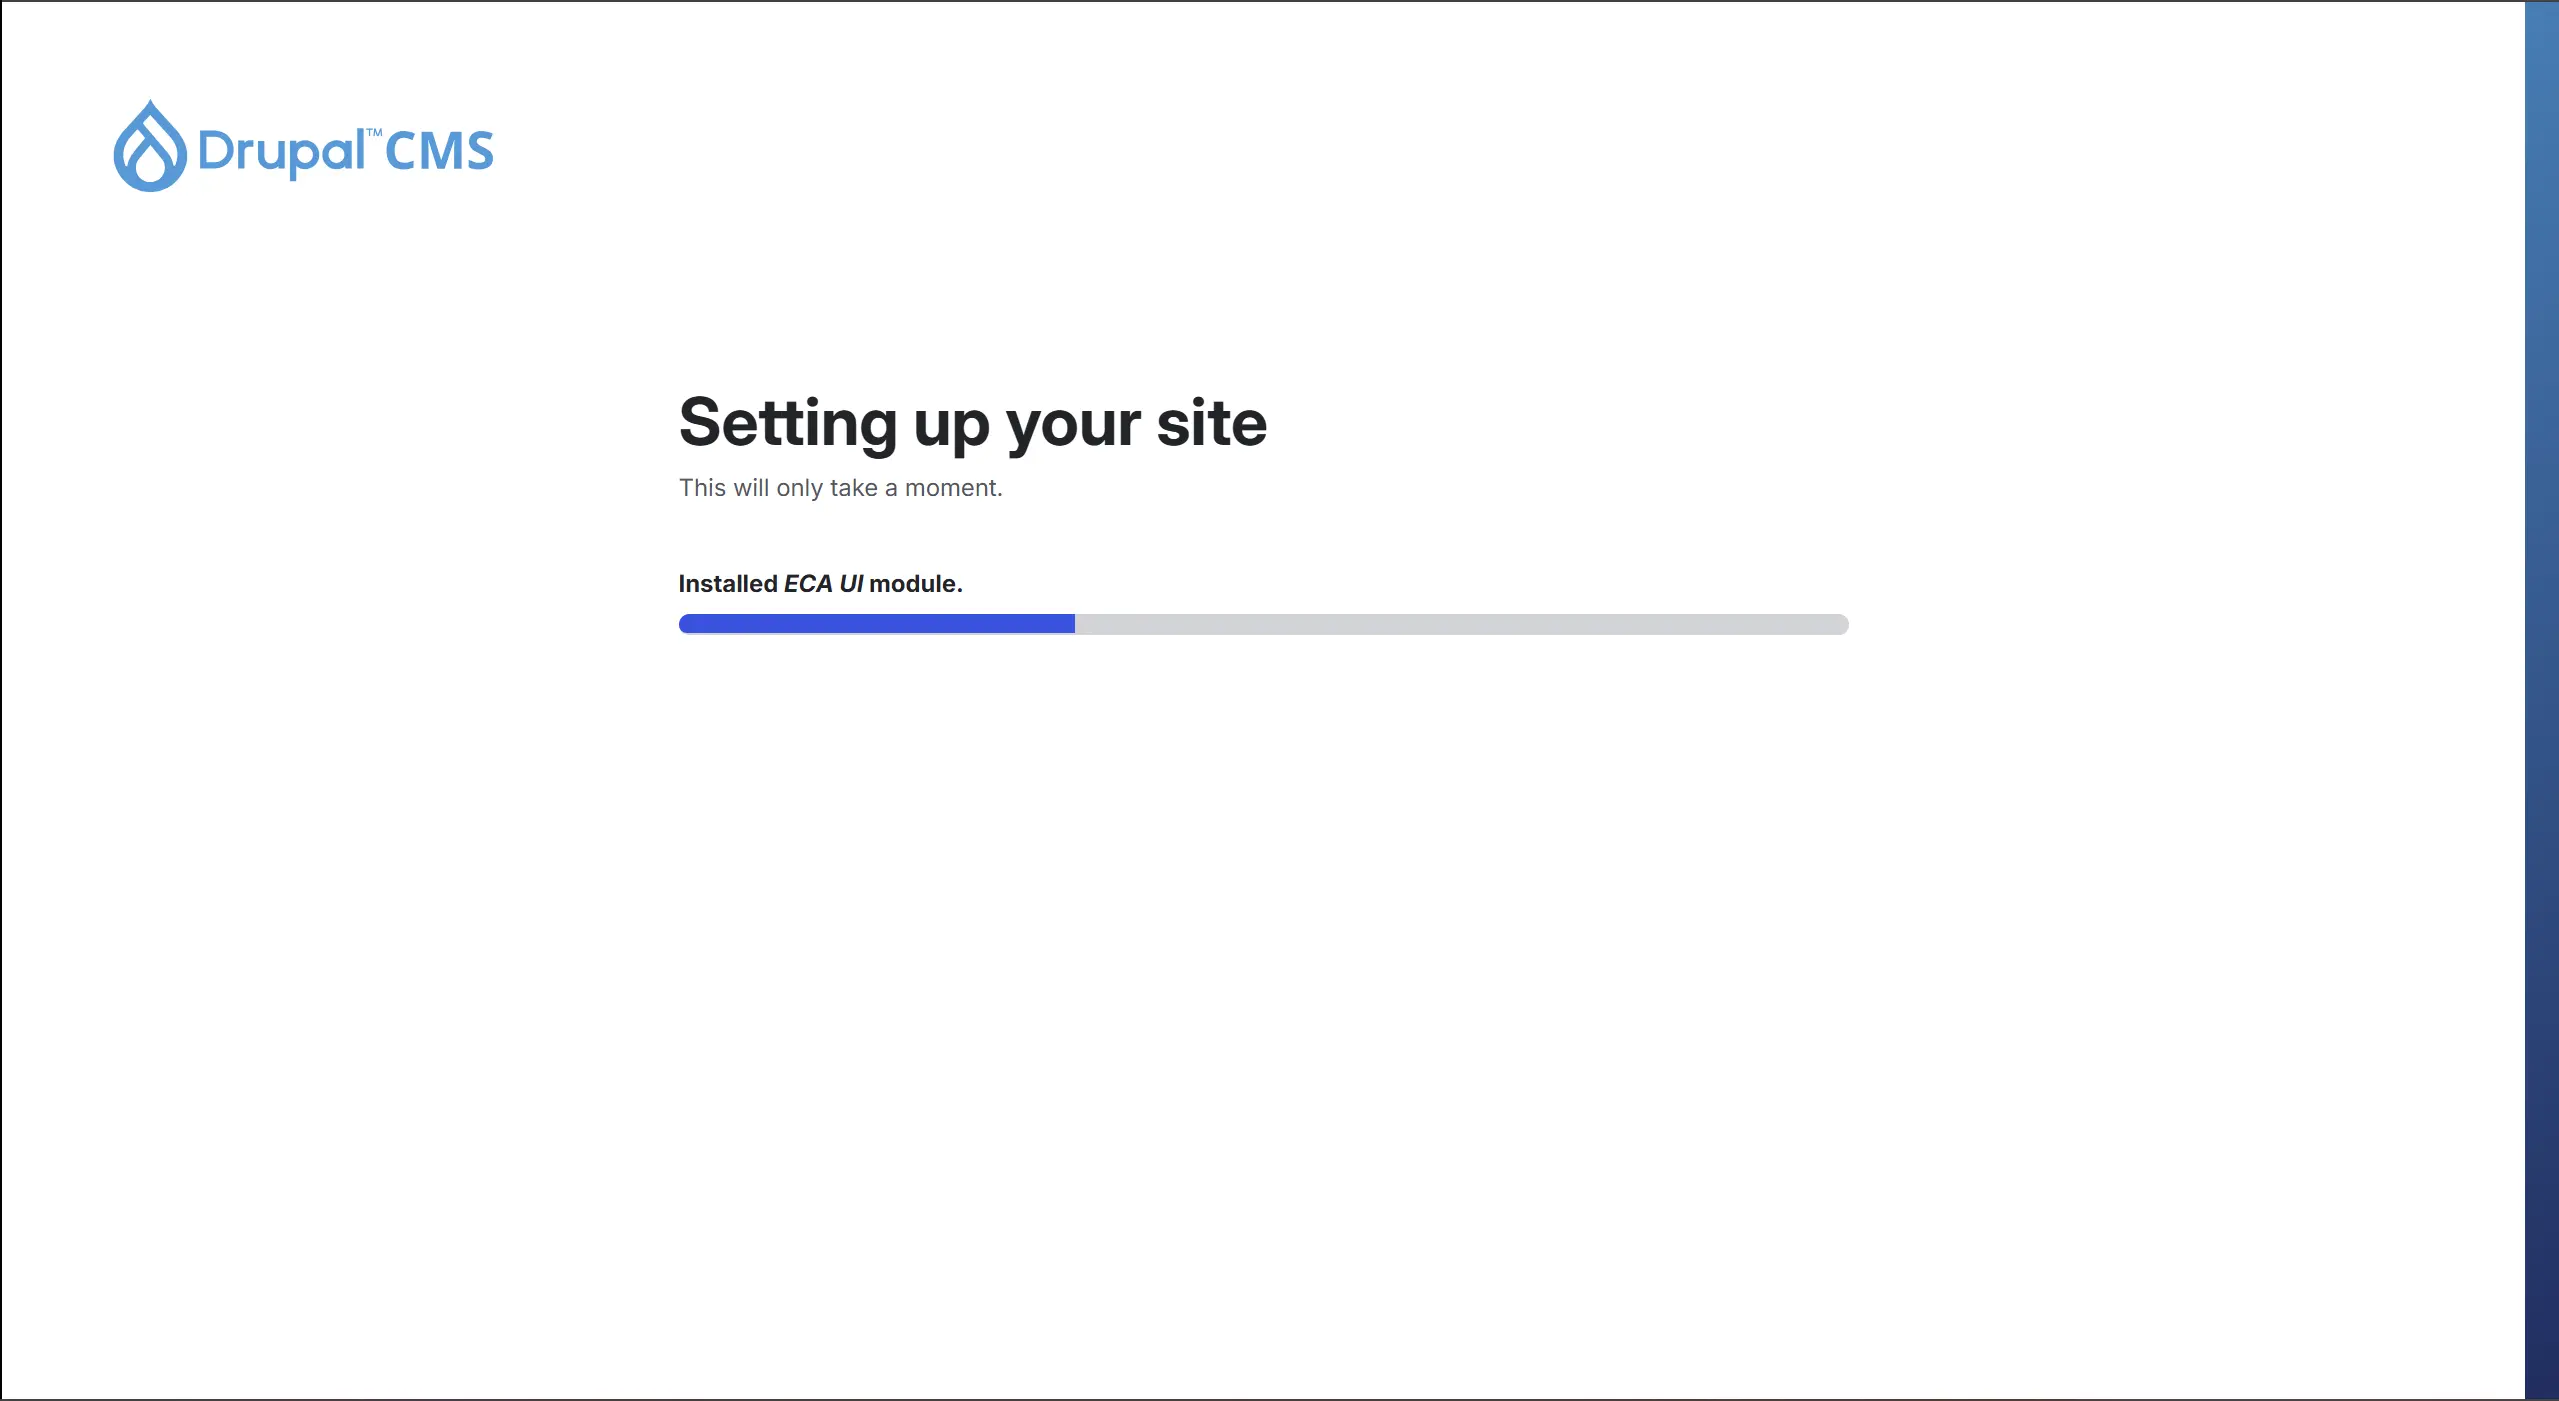
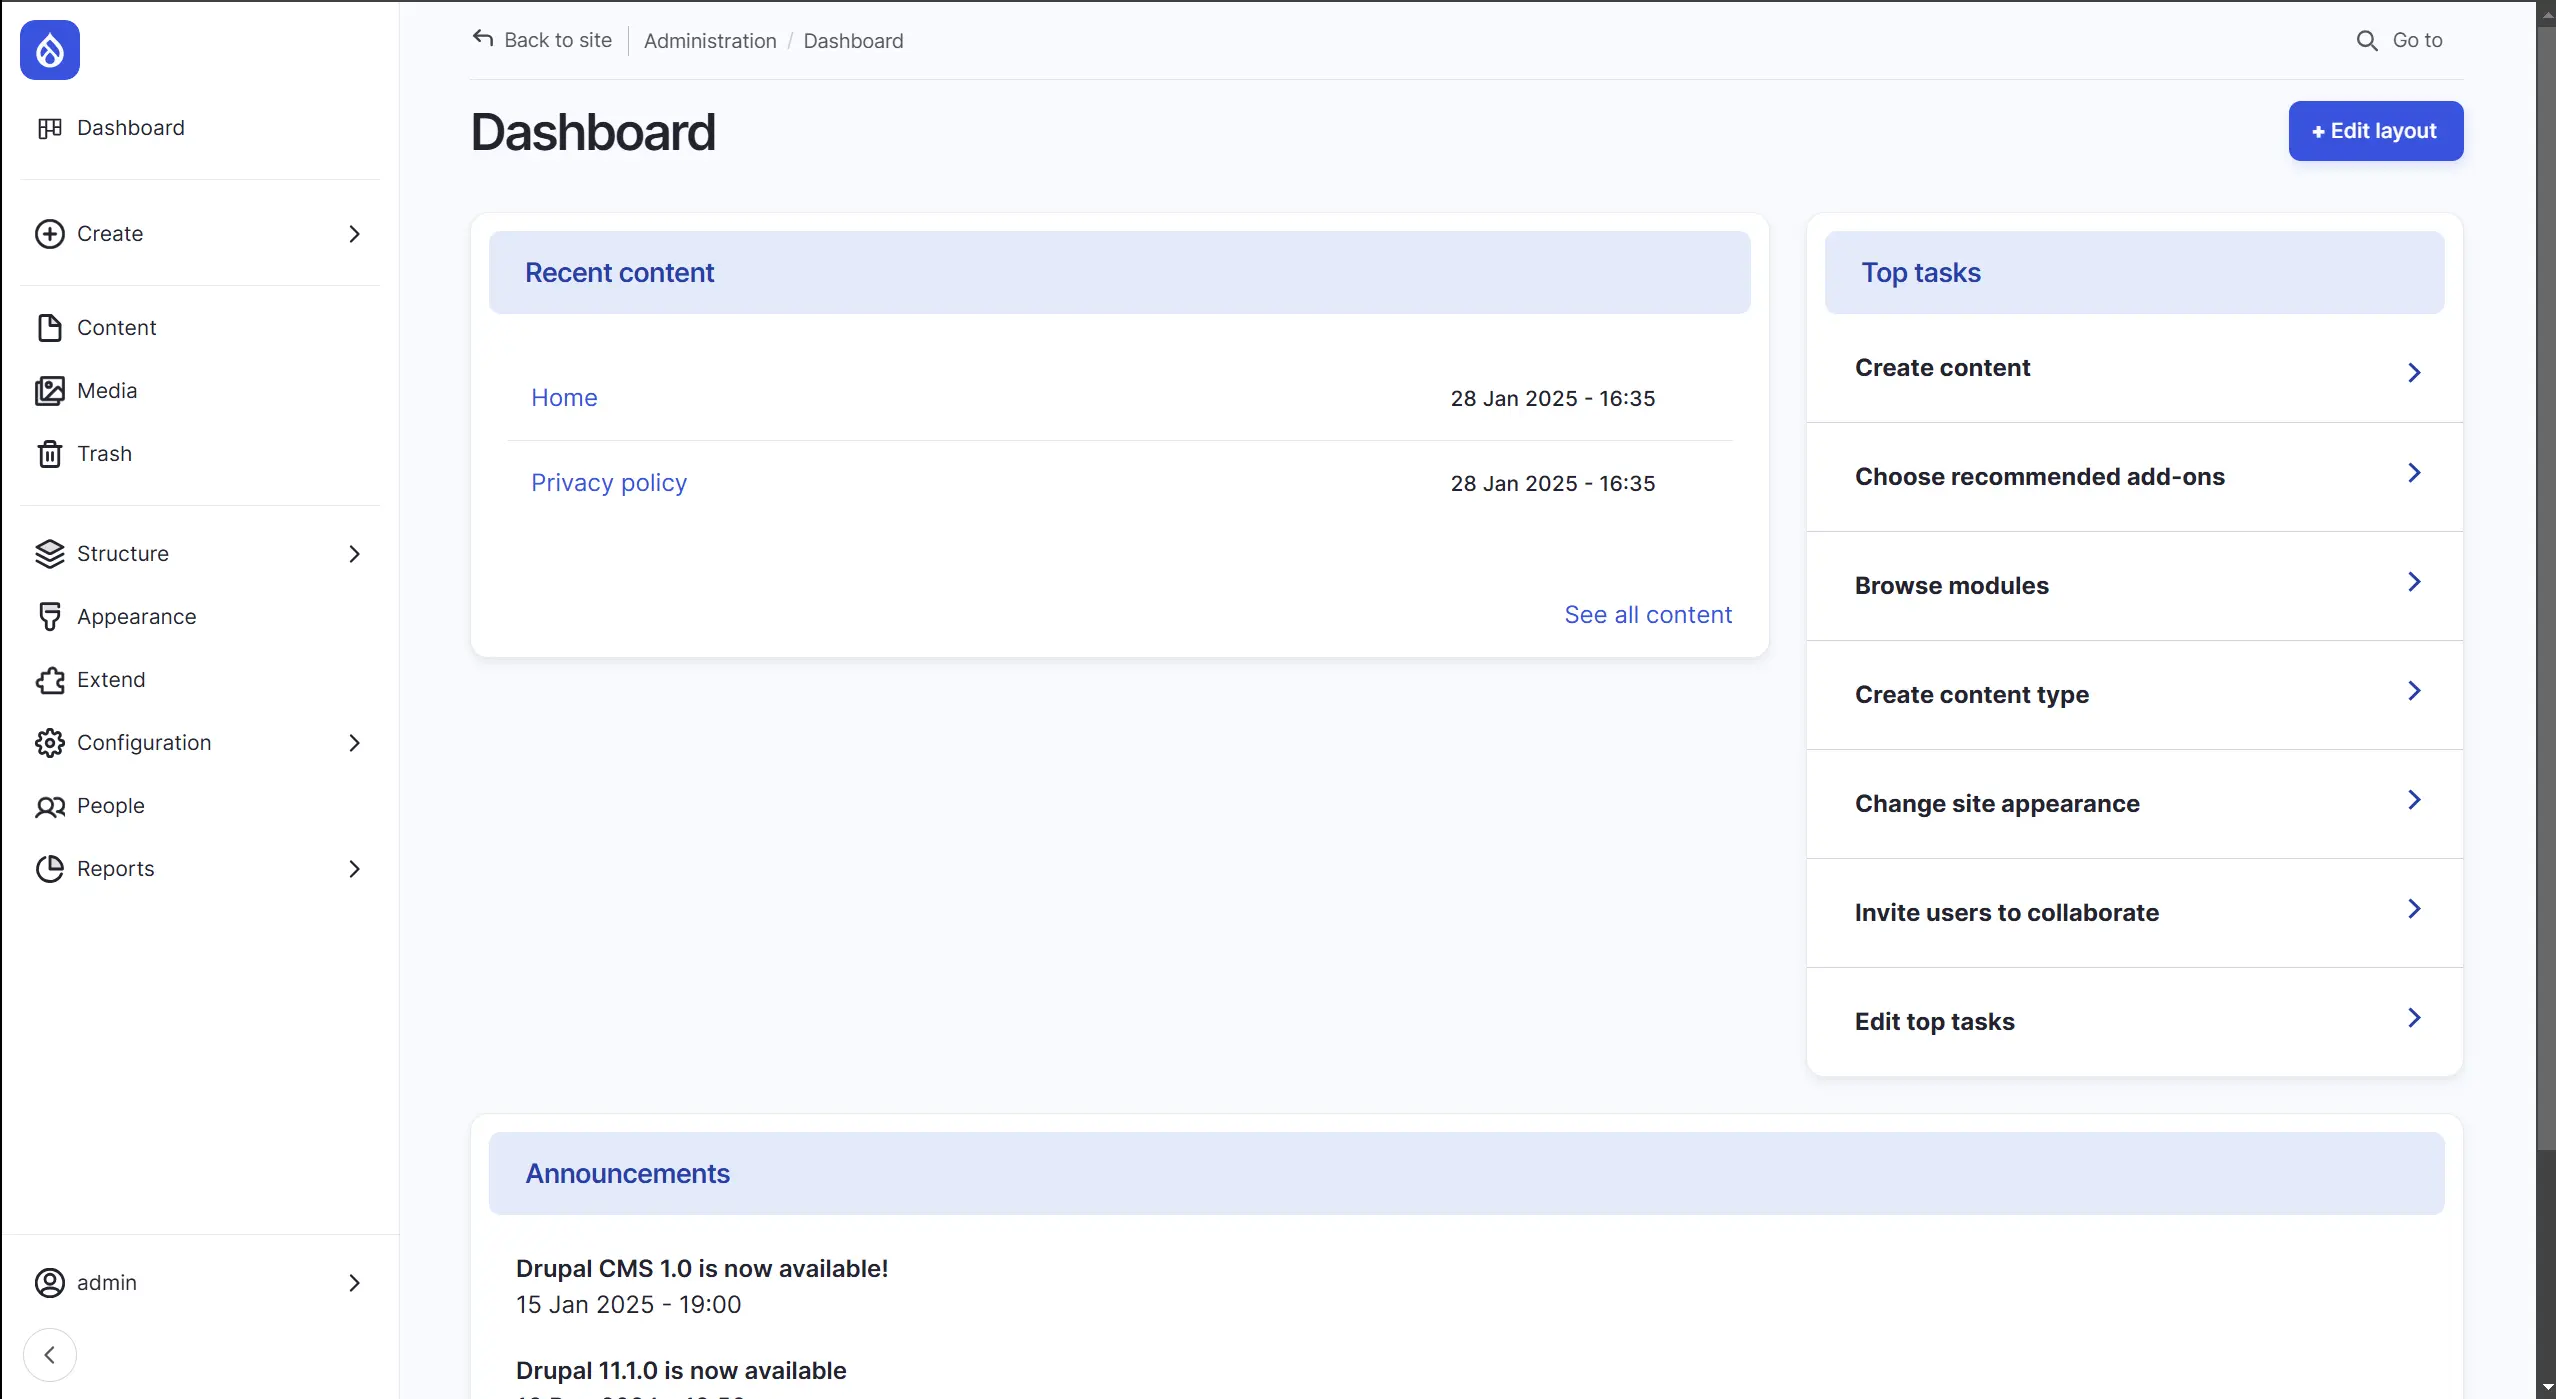
And that's it, we can start building our dream website "seamlessly" using the new Drupal CMS.